
The i.Report VP3-TM devices are normally shipped with a SIM card pre-installed if shipping to a destination in the US (for use in the US). The SIM card is installed but not activated. You are given the choice of AT&T network or Verizon network when placing your order. For use outside of the US, you should choose "No SIM" when placing your order. You will need to provide your own SIM card outside of the US.
The SIM card pre-installed is a TracFone SIM card. TracFone is one of America's biggest prepaid service providers. We chose TracFone because their rates are very reasonable, and getting a SIM card activated is quick and easy with TracFone.
If you are planning to deploy a significant number of i.Report remote monitoring devices, you may want to consider creating your own commercial account with an M2M reseller that may offer volume plan discounts. Control Solutions can give you advice on that matter if applicable.
The first step in activating the pre-installed TracFone SIM card is to go to www.tracfone.com and create an account for yourself. Then follow the steps here to activate the SIM.
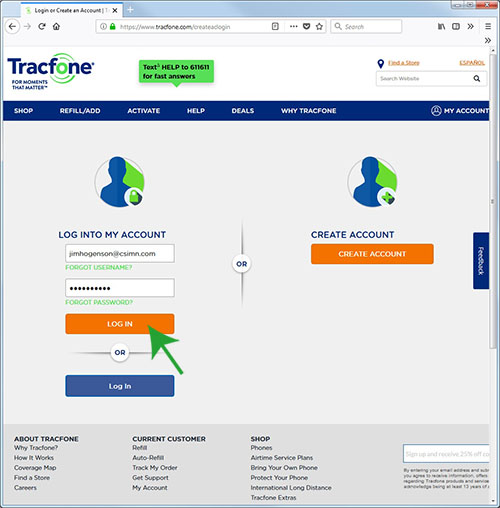
Start by logging in.
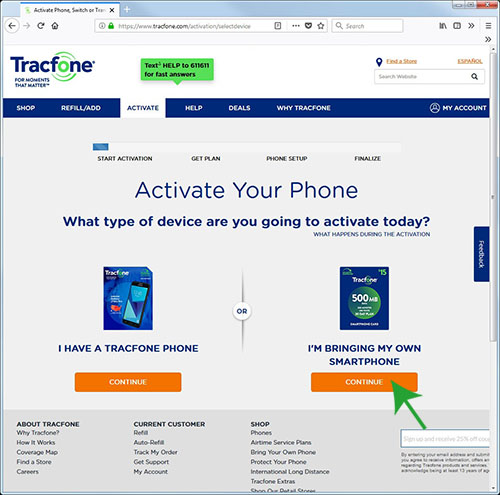
From the menu bar at the top, select ACTIVATE. Choose "I'm bringing my own smartphone".
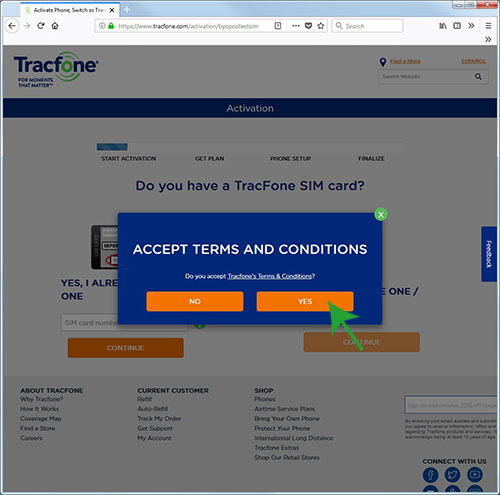
As you might guess, you need to accept terms and conditions in order to obtain service.
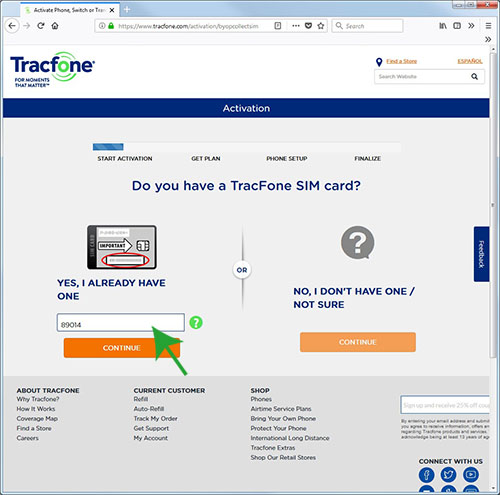
You already have a TracFone SIM card. You can find the CCID number, aka SIM card number, on the card carrier that originally held the SIM card now installed in the VP3-TM. The card carrier should have been included in your shipment just for the purpose of entering the CCID number here. However, if it got misplaced, you can still obtain the CCID number from the VP3-TM device itself. The "nano" SIM card itself is too small to easily read a number from by just looking at it. It is far easier to read it electronically. Refer to the "show cell" command noted in Section 6.4. Enter the entire CCID or SIM card number here (only partial entry shown in illustration) and click Continue.
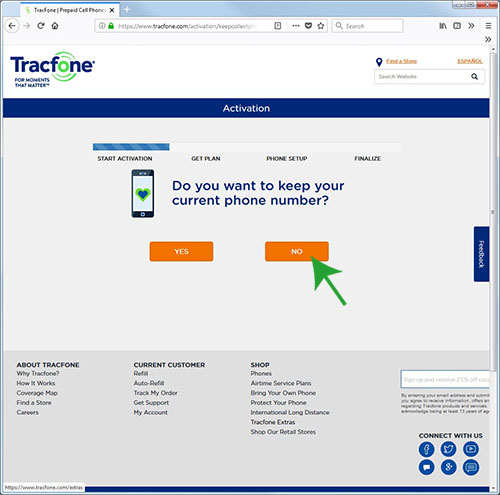
You do not want to keep your current phone number because you don't have one yet.

Enter the zip code where the i.Report will be installed. This results in getting a phone number local to that area.
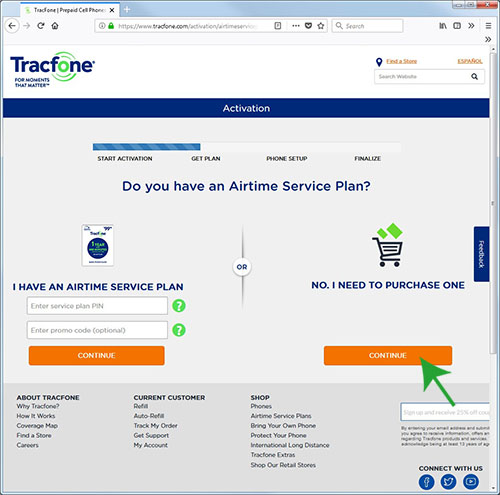
You do have a SIM card but do not have an airtime service plan yet. Getting a service plan is the whole point of this exercise, so click "No, I need to purchase one".
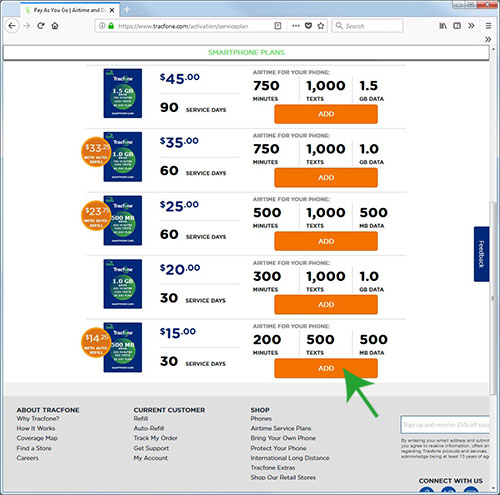
If you really think you're going to be generating a lot of text messages, you can opt for a bigger plan, but for most applications, the least expensive plan is going to be adequate.
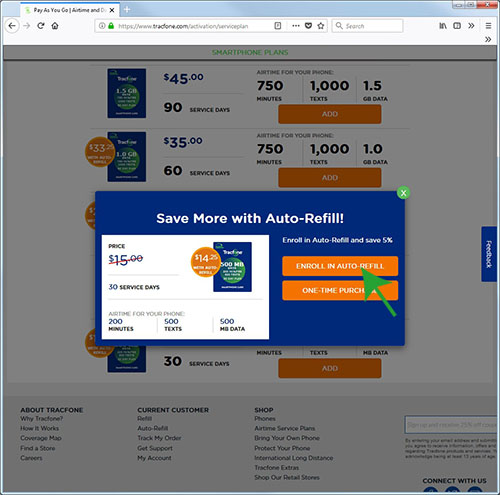
We recommend enrolling in Auto-Refill. That way you won't miss messages because you forgot to refill your airtime plan a month later.
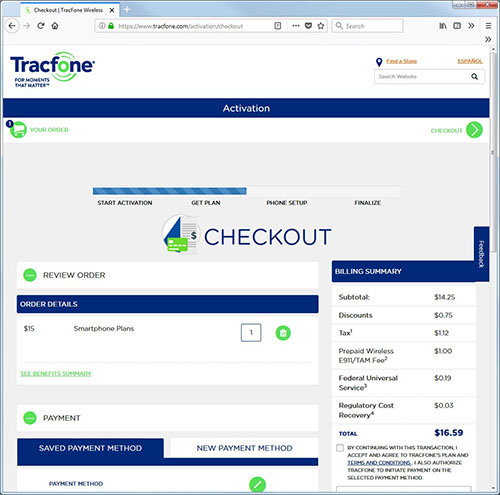
Complete the checkout by entering your credit card information, etc.
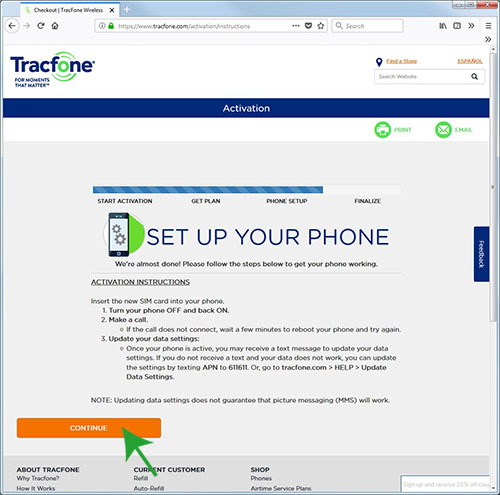
Forget about the "make a call" and everything they suggest about setting up your phone.
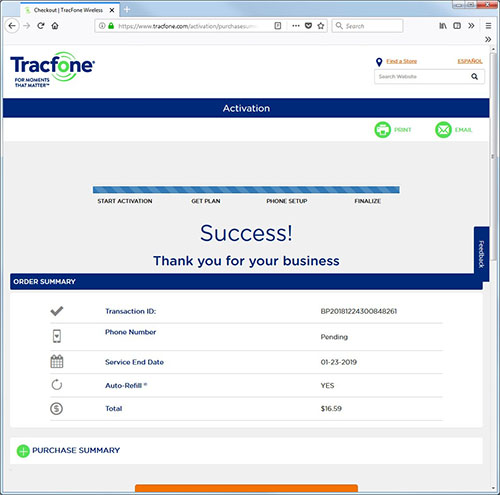
The only thing you need to do on this screen is smile.
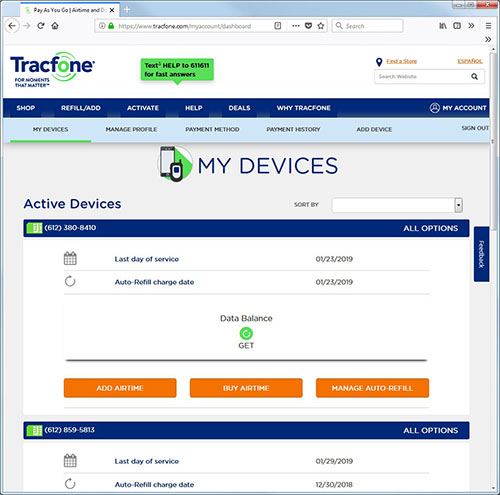
Wait a few minutes and come back to "My Devices". The My Devices page is the account home page. This is where you will start every time you log in, or each time you click on My Account in the upper right corner (if already logged in). When the device is fully activated, its phone number will show up here.
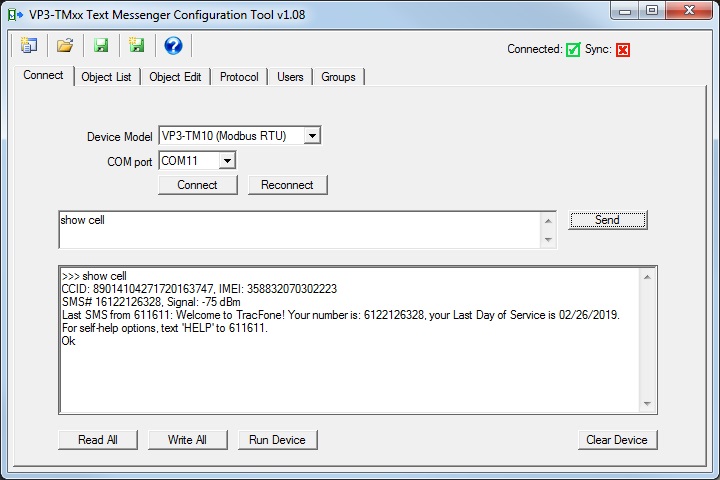
Follow directions in Section 6 for getting connected, and use the "show cell" command to verify your SIM card activation. The "show cell" command shows the CCID and IMEI numbers. If connected to the network, it also shows the device's phone number and signal strength. If a text message has been received, the "show cell" command always displays the most recently received message. Immediately after activating the SIM card, it is going to be a welcome message from TracFone.
It is not a requirement that you connect via the configuration tool and verify SIM activation. You also have the option of using the "Owner" command and beginning the configuration process via SMS as noted in Section 5. Activating a Verizon compatible SIM card requires connecting to the VP3-TM with the configuration tool (or terminal emulator) in order to read the IMEI from the device. Activation of an AT&T compatible SIM card does not require knowing the IMEI, so it is possible to activate an AT&T compatible SIM card and configure the VP3-TM remotely without ever physically connecting the configuration tool to the VP3-TM device.
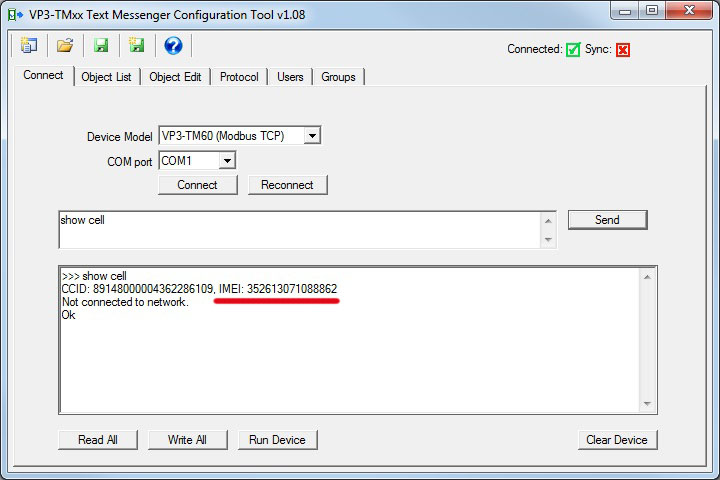
Before starting the activation process for a Verizon compatible SIM card, make sure you have obtained your IMEI number from the VP3-TM. Refer to Section 6.4.
The first step in activating the pre-installed TracFone SIM card is to go to www.tracfone.com and create an account for yourself. Then follow the steps here to activate the SIM.
Start by logging in.
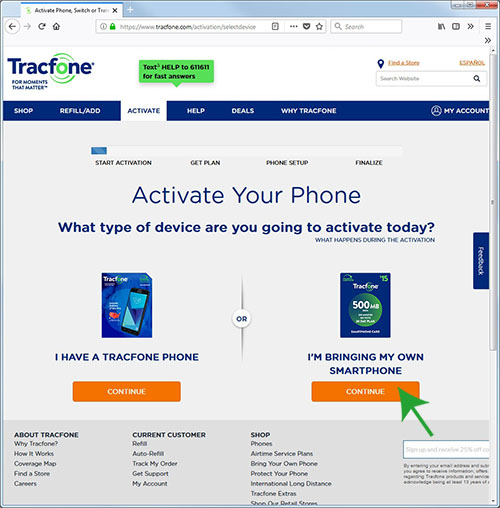
From the menu bar at the top, select ACTIVATE. Choose "I'm bringing my own smartphone".
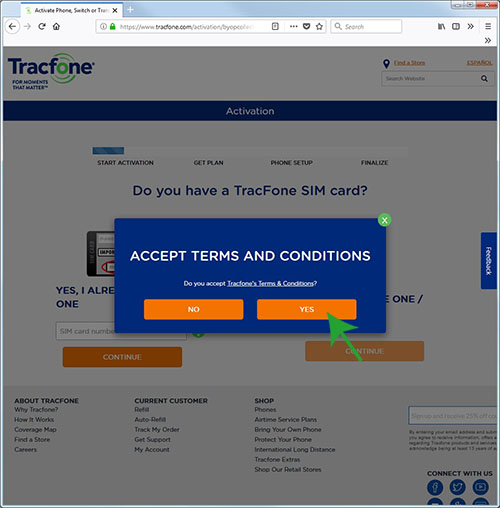
As you might guess, you need to accept terms and conditions in order to obtain service.
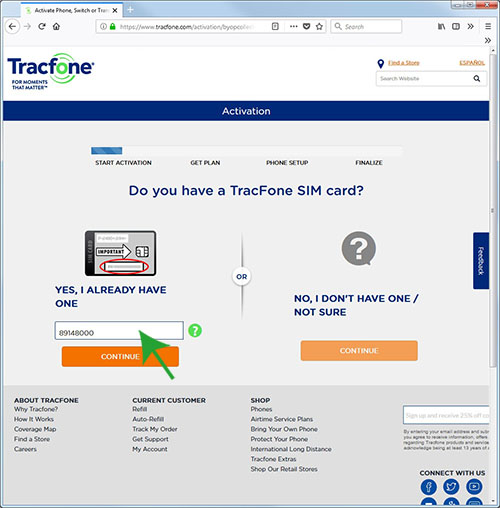
You already have a TracFone SIM card. You can find the CCID number, aka SIM card number, on the card carrier that originally held the SIM card now installed in the VP3-TM. The card carrier should have been included in your shipment just for the purpose of entering the CCID number here. However, if it got misplaced, you can still obtain the CCID number from the VP3-TM device itself. The "nano" SIM card itself is too small to easily read a number from by just looking at it. It is far easier to read it electronically. Refer to the "show cell" command noted in Section 6.4. Enter the entire CCID or SIM card number here (only partial entry shown in illustration) and click Continue.
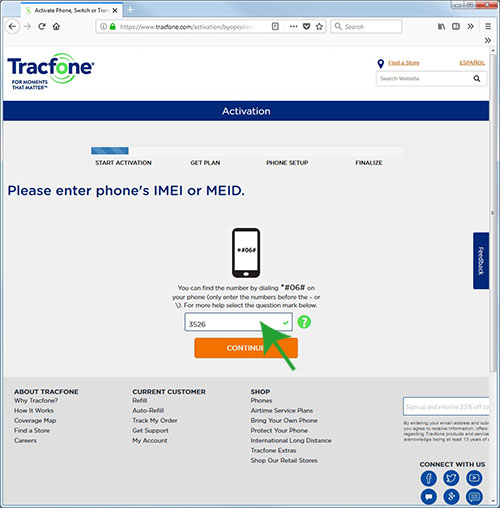
When activating a SIM card on the Verizon network, Verizon wants to know the IMEI number of the device you are activating the SIM card for. The SIM card number you entered in the previous step told the system that this is a Verizon compatible device. To obtain the IMEI number, connect the configuration tool to the VP3-TM and use the "show cell" command as described in Section 6.4. Once you have obtained it, enter it here.
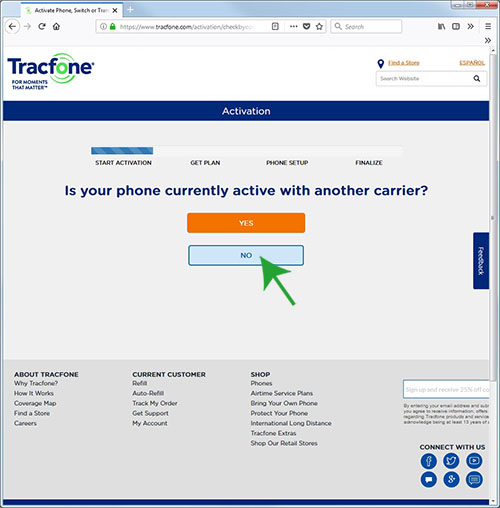
No, your VP3-TM is not currently active with another carrier.
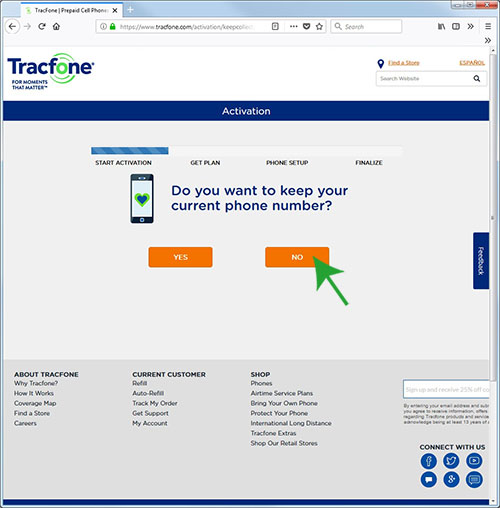
You do not want to keep your current phone number because you don't have one yet.
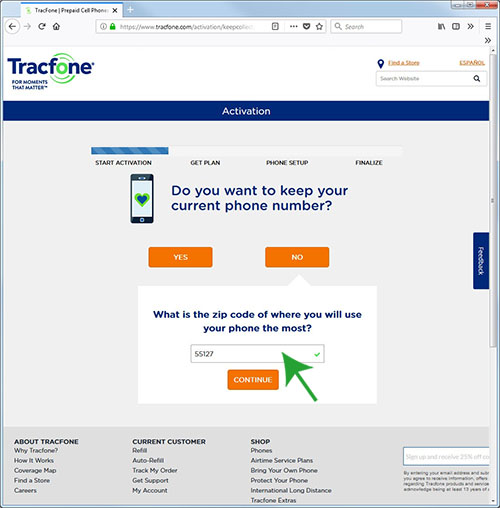
Enter the zip code where the i.Report will be installed. This results in getting a phone number local to that area.
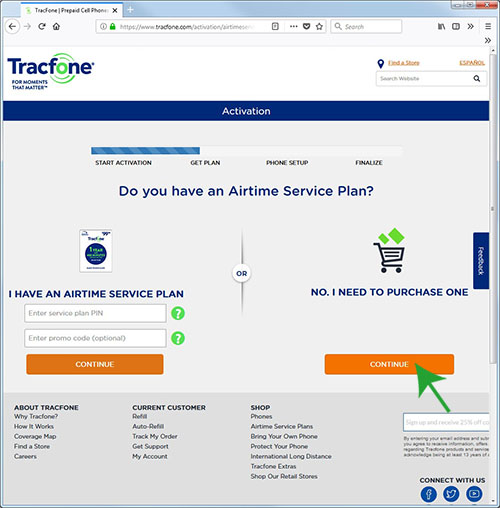
You do have a SIM card but do not have an airtime service plan yet. Getting a service plan is the whole point of this exercise, so click "No, I need to purchase one".
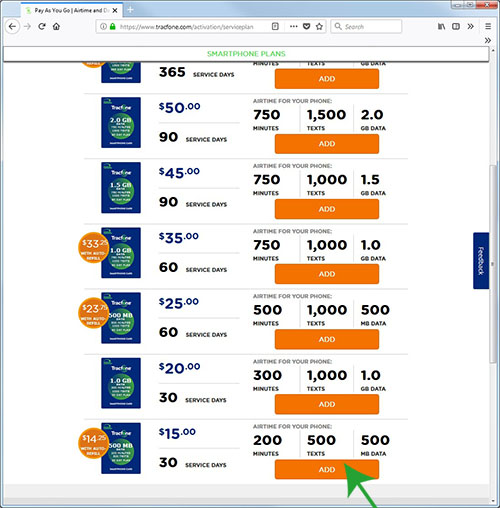
If you really think you're going to be generating a lot of text messages, you can opt for a bigger plan, but for most applications, the least expensive plan is going to be adequate.

We recommend enrolling in Auto-Refill. That way you won't miss messages because you forgot to refill your airtime plan a month later.
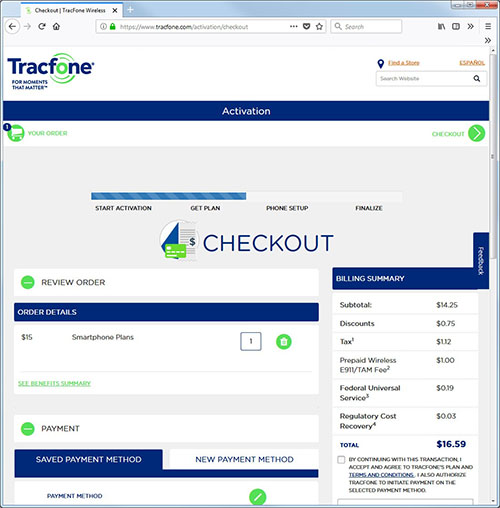
Complete the checkout by entering your credit card information, etc.
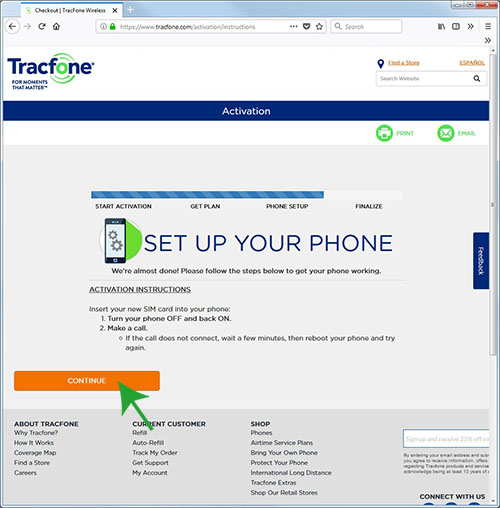
Forget about the "make a call" and everything they suggest about setting up your phone.
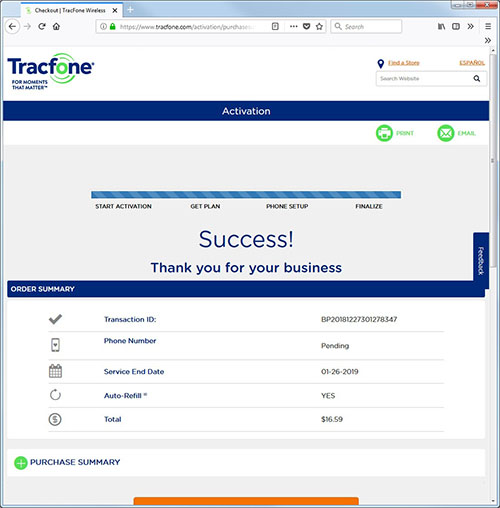
The only thing you need to do on this screen is smile.
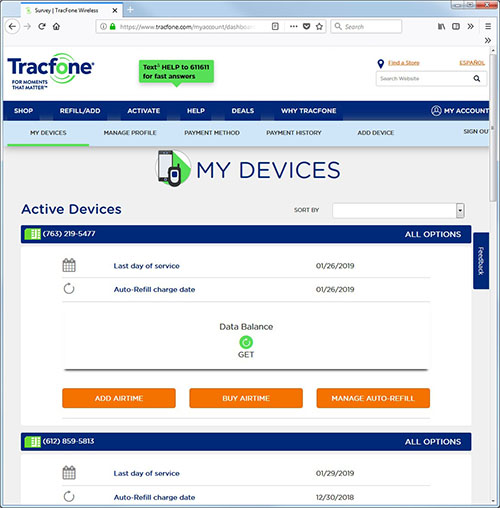
Wait a few minutes and come back to "My Devices". The My Devices page is the account home page. This is where you will start every time you log in, or each time you click on My Account in the upper right corner (if already logged in). When the device is fully activated, its phone number will show up here.
Use the "show cell" command to verify your SIM card activation. The "show cell" command shows the CCID and IMEI numbers. If connected to the network, it also shows the device's phone number and signal strength. If a text message has been received, the "show cell" command always displays the most recently received message. Immediately after activating the SIM card, it is going to be a welcome message from TracFone.
Copyright © 2019 Control Solutions Minnesota, Inc.